Wednesday, September 24, 2014

Autumn and the Animals

Tuesday was the first full day of autumn. It was cooler than the day before because we had a "cool" front move in overnight. The air is drier and the humidity is gone.  Of all the seasons, fall is my favorite. 

Everyday around 4:00 o'clock it is time to feed the horses.  As I headed out back, I noticed the afternoon sunlight streams in from a new angle casting long shadows from the trees.  This sunlight is much more calmer than the harsh hot bright summer sunlight. 


The summer garden is all but gone.  A few okra and pepper plants are all that remain.  The weeds have taken over.  But not for long. The gardener has already bought his fall garden seeds.  He started his onion seed in trays on Sunday.  He will plow and row up the garden and have it planted by October 1.  We love the fall and winter vegetables and greens.  
  

Oh yes.  Back to business. The horses are waiting for their dinner. Buck and Rio are two fine old men. Just living the good life eating and pooping.  Not quite as spry as they once were.  They are just big family pets now.


Buck is shy and serious about dinner.  He is heading that way. 


Rio hangs back to have his picture made.


Rio is such a ham.  He posed for some close-ups.


What a handsome profile!


 Buck, well, he just likes to eat.


We have three cats.  This is Petey. He is such a big sweet boy.  He meows a lot. 


This is Tom. Short for Tom O'Malley from a Disney movie.


This is Dorothy Ann.  A tricolored female.  A calico cat. She is the sneaky one who tries to come inside every time I open the door.  She makes it in about half of the time.  It takes hours to find her and put her back out.   


Our two dogs: Little Brown Bear and Sandy Gail.  Brother and sister from the same litter.  Go figure?
They sleep all day.  We live in their house. When they are outside they are naughty and like to chase the bicycle riders so they have to stay inside the fenced yard.  They bark a lot at joggers and strangers. They are my best buddies and are always nearby.  Both have their special spot in my bed.  
They both are terrified of thunder storms.  


We are just one big happy family around here.

Thanks for stopping by!  


Tuesday, September 23, 2014

Nursery - My Baby is Having her Baby

Allow me to build a story today that will eventually lead to my latest sewing project.  Be kind and let me pause to remember a really wonderful day.

We have three wonderful children.  Two sons and one daughter. This mom is so proud of these adults and their families. Today's post is about my baby girl who is all grown up, married and expecting her first child.

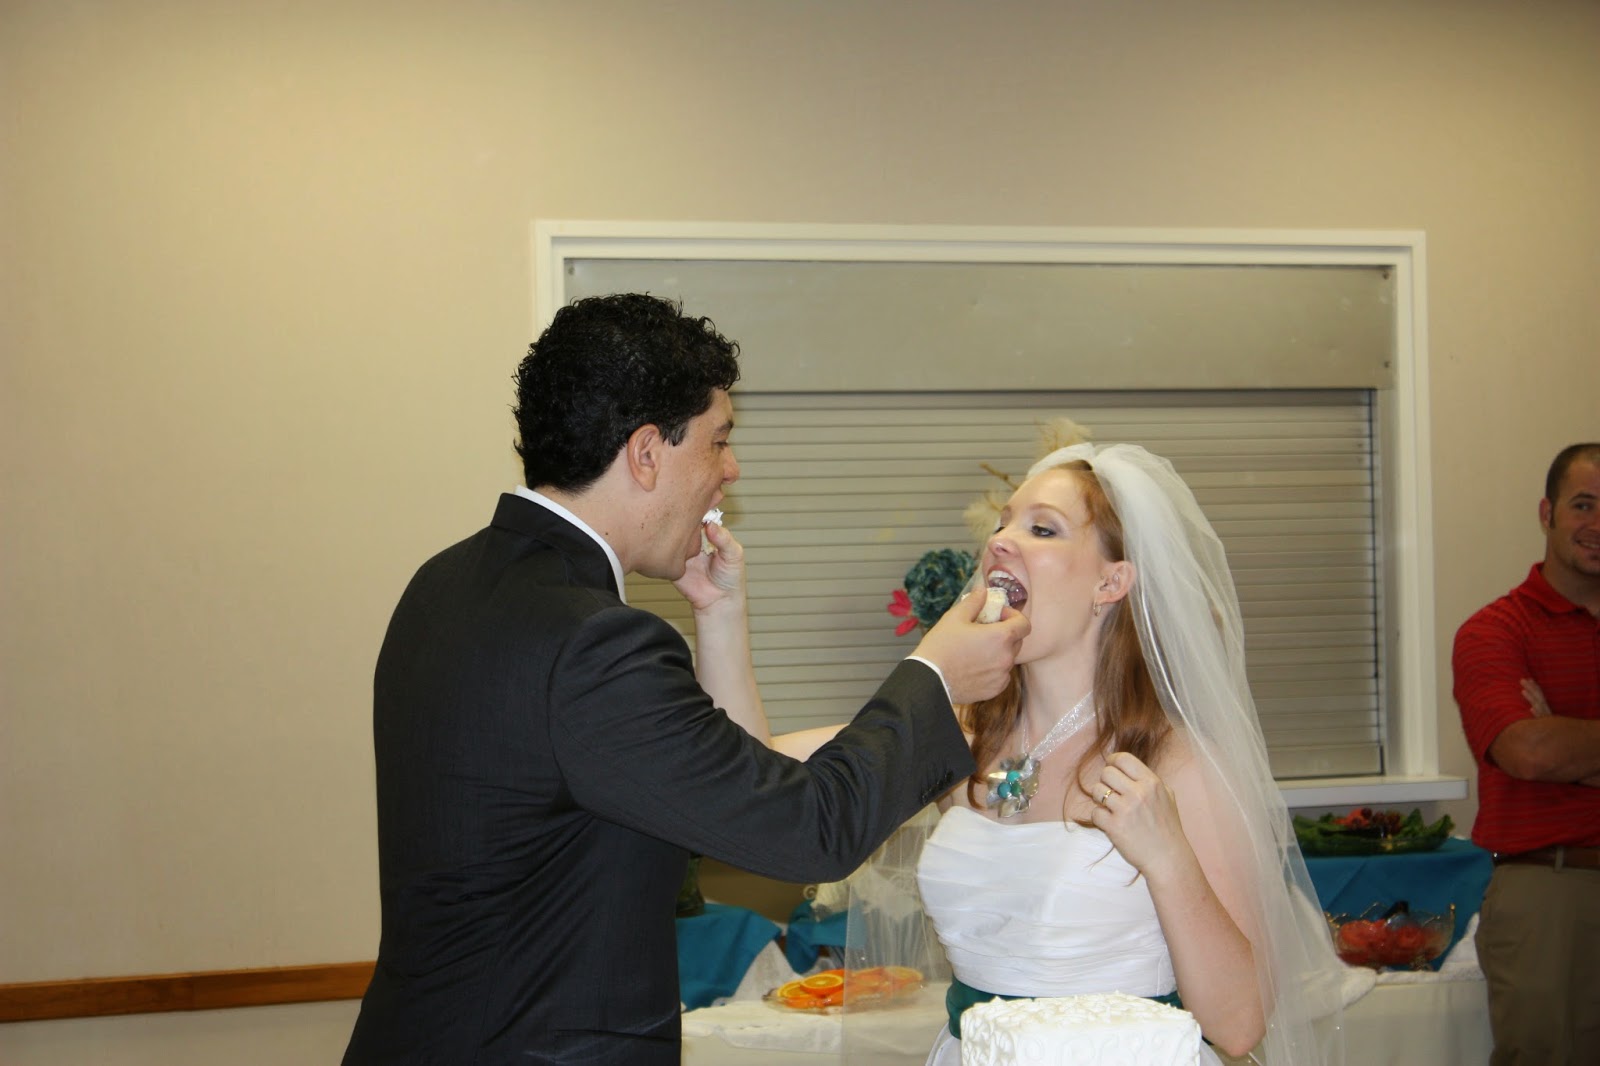
My daughter, her fiancee and I planned their wedding three years ago to take place on a hot Texas Saturday summer morning August 20 at 8:20 a.m. in this lovely setting called the Prayer Garden at our church. A small group of family and friends gathered to celebrate this special occasion.  A violin quartet sat in the arched walkway and played lovely wedding songs. 


Her dad and our first grandson drove her to the ceremony on the back of his John Deere MT tractor.

They planned a lovely ceremony.


You may ask why was the wedding so early in the morning?  1. It is hot in Texas in August. Morning is as cool as it gets. 2.  She wanted a small wedding outside in the Prayer Garden. 3. She likes the food: Breakfast Tacos and Kolaches! 4. She likes to put her own unique perspective when planning.  She doesn't always follow the rules!   


Their wedding day was filled with wonderful memories.  I always have a smile as I look back on that beautiful morning.  From a mom's perspective everything was perfect in the planning.  

 Fast forward a few busy years and my daughter and her husband are again preparing for another big event. Their first child, our fifth grandchild and our fourth grandson. 

We are preparing a nursery. She chose the colors navy and lime green.  


She chose a navy geometric print with a lime green and white circle print on the skirt.  The navy print works really well with the crib bars. I covered the mesh bumper pad edges with a DS Quilt Collection Bakersfield print in lime green and tiny navy circles. Solid navy ties. 


I made everything by measurements and without the crib to use as a guide.  So the bottom skirt is hidden.  That's okay.  I bought eleven yards of that green and white and it has to will show up in that room somewhere before the sewing is all over.   

Am I making a quilt?  You bet!  I will post about it soon.

Thank you for stopping by to share our little world of big events.   

Scrappy Christmas Quilt


One of the things I enjoy about making a quilt is using lots of different fabrics within my quilts. Call it scrappy with organization.  No matter what pattern I choose, it usually has many different fabrics. Much of the time there are no repeats. I have a lot of fabric.  I need to use it.  I have been sewing with abandon and cutting into several collections that I have been saving for special projects.  My rule this year is to use it and no longer save it.  

I really like the tumbler pattern.  It is quick to cut and quick to sew.  I purchased this tool from Missouri Star Quilt Co.  It is designed to fit a five inch charm square.   As I was trimming down my scraps into squares this summer, I used this tool to trim some of the bigger scraps into a tumbler patch.  I had the random square jars, the Christmas tumbler stack, the cowboy tumbler stack and the kitty litter block stack all going at the same time.  

Last week I needed a "lite" project to fill in some extra hours that I had to sew.  I picked up the Christmas fabric tumbler stack and started sewing.  It is so nice to have a stack all cut and ready to go when you need a mindless sewing project. 


This is the finished quilt.  I just went random and cut all colors, styles and years of my Christmas fabric collection.  There are some 70s and 80s colors in there.  Some Debbie Mumm country Christmas and some Lynette Jenkins Thimbleberries.  Plaids, checks, stripes and dots that may not be Christmas, but added some color, texture and interest.  I did have one rule on this quilt, no metallic prints.  I have a stack of those but that will be another quilt. 


Those little pre-printed squares used on the border were from  this VIP Cranston Yuletide Ornaments panel I bought long long ago. 

The panel included these printed squares to be made into ornaments or little bags or whatever.  I cut out each one and sewed a log cabin style strip around each one.  I trimmed the squares to 6.75 and joined them to make a clever border.  I did not have quite enough so I just sewed some strips random scrappy style and made the whole thing fit.  


        Are you planning a new quilt for the Christmas season.  Now is the time to get started.  And maybe you will have it finished by Valentines.  That is usually how I roll.  Thanks for stopping by.  

Monday, September 22, 2014

Diaper Snap Conversion

As quilters and sewers, we know a lot about a lot of crafty things. That being said, I wanted to show you that you can convert diaper covers from velcro to snaps.  Maybe you don't have a need to know this, but it may come in handy at your next baby shower as a conversation starter.

When at home, my DDILs like to use cloth diapers for their babies. It has something to do with saving the planet and saving money. The diapers are very durable and they have passed their diapers among the four grandchildren. I believe that is saving the planet and money.

The moms have tried them all.  They like Bum Genius diaper covers.  They prefer snaps over velcro.  So I was asked to convert three velcro covers to snaps.  I have the Babyville tools and the snaps so I was all set to give it a try.


The cover looks like this.  It is actually the cover and diaper all in one.  This is what I was using for my placement of the snaps.  There are excellent YouTube tutorials available if you need more help.   


See the velcro version compared to the snaps version.  I removed the velcro from all the places.  I used the blue painters tape and placed it over the green cover to mark the snap placement.  I used a marker and marked the spots ON THE TAPE  where I needed to place the awl to pierce the hole in the fabric to be able to easily insert the pointed end of the snap.  I didn't take a photo of all of the steps.  I refer you to the tutorials on YouTube.  Just google "converting diapers from velcro to snaps" and there are several excellent resources.   


 My first attempt is crooked.  But doesn't matter.  They work just fine.  I did three covers and was a pro by the end of the project.


Ta Da!  They work great and the momma is happy. We want the momma happy. It does not have to be perfect, it just has to work.


Help a mom today!

Wednesday, September 17, 2014

Summer Sewing Catch Up - King Sized Masterpiece

Well, not a masterpiece, but definitely a really big quilt.  Not only did I want to destash scraps but I wanted to reduce some fabric collections.

I have this beige, red and green collection. It takes up a bottom shelf of valuable fabric storage. For years, I picked up yardage, not fat quarters. I am sure it was clearance fabric.  It is good quality quilt shop fabric.  I kept adding and adding reds and greens.  Beige with red and green.  Tiny floral, medium floral, large floral. Victorian and reproduction. The fabric colors and style are still popular with many quilters but it is no longer my interest. I must really learn to be true to myself and not follow the current fabric trends.  Oh well, easier said than done.
TIME FOR A QUILT!
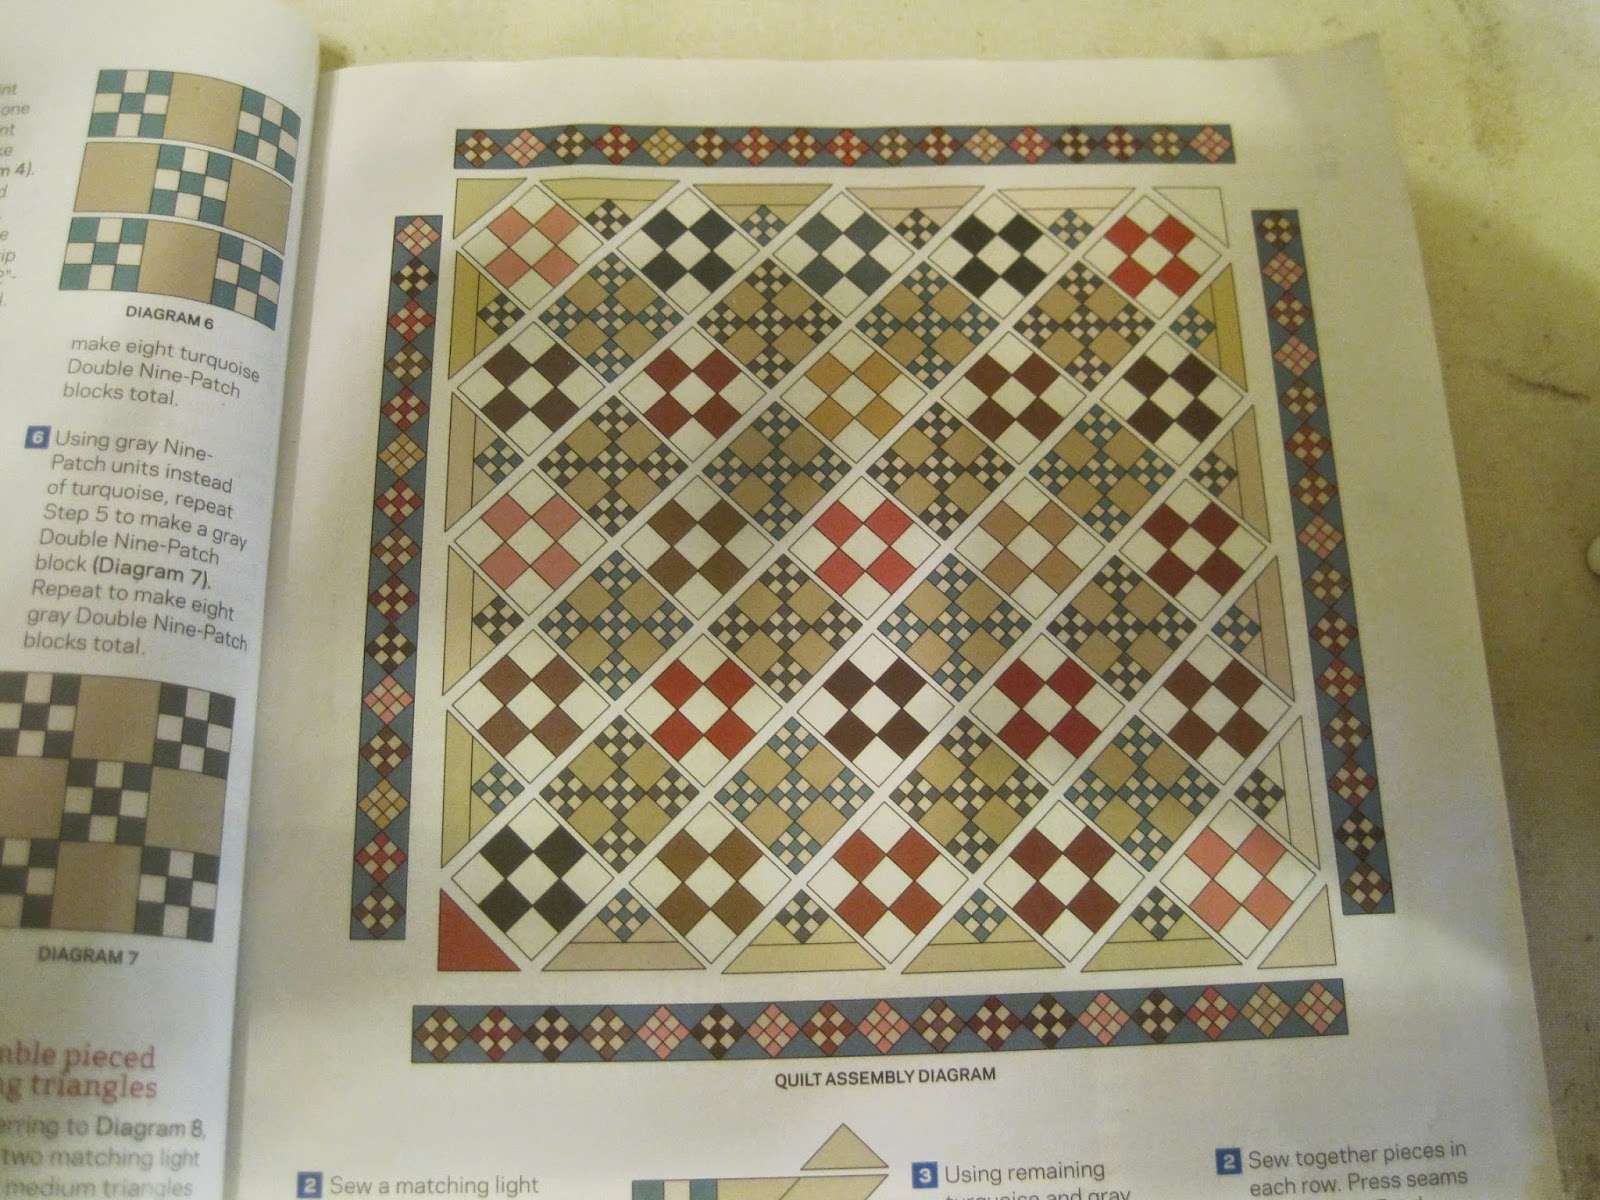
I began to search through my stacks of quilt magazines for inspiration.  I found this one.


Nine-Patch Delight.  I am sure I was drawn to this quilt because the colors and fabrics in this photo are nearly identical to the fabric collection I wanted to use. I like nine-patch.  No real brain power needed. Nine-patch on point.  Somewhat of a challenge.

Designers: Sarah Maxwell and Dolores Smith of Homestead Hearth.com If this quilt inspires you, their business is alive and well. They carry a great line of fabrics and you can make this quilt too.


From this issue.  Sew Scrappy, saying my name. Better Homes and Gardens American Patchwork & Quilting Issue 110 June 2011 


Fifteen inch blocks. Lots of them. Colors are almost the same, Right?  I had to use a bedroom floor to lay out all the blocks.  I did not have floor space to lay out a quilt of this size.   


It kept growing as I kept sewing.


And growing with sewing.


Nearly done.  Move furniture out of the way.  Quilt coming through.


Piecing is finished!  Hanging to photograph. Actually the colors are quite nice. The colors are not lively. They go together well and create a very relaxing bed quilt. I feel I captured the designers idea of what this quilt should be.


It is the first quilt I have ever made that will fit on my king sized bed and will drape down the sides.  I am excited about that.  Did I use up that shelf of fabric?  You might think so.  But NO.  It seemed to grow!


How will I quilt it?  I do not know.  Will it fit my 10 foot frame?  I do not know.  Do you want to buy it? I am open to sell the top and let you quilt it.  For now I have put it away so it can grow on me over time.  And when and if this fabric trend becomes hugely popular again, I don't have to buy into it.  I still have plenty left.

Have a great day!  Thank you for reading this episode of my summer of sewing!           

Saturday, September 13, 2014

Summer Sewing Catch Up - Scrap Fabric Elimination

I did TRY to focus on cleaning this summer.  HA!  I would rather do anything than clean house.  I managed to clean out a couple of closets but let us face reality, I just have so many useful things that I am not ready to part with just yet. I feel like my house is the family storage center.  My husband and I both have multiple hobbies and we have tools and gadgets that are useful.  I was overwhelmed before I could get started. Maybe when the weather turns cooler. Maybe when we both are retired. I need a helper to tackle this.  Until then, I will carry on and hope for the best.

I turned my focus on my sewing area.  Here is a place I want to be! I organized stacks of fabric.  I picked up scissors and rotary cutters and placed them in bins.  I organized spools of thread. I looked at my scrap bins and decided it was time to turn all that into quilts.  

I searched blog land for any and all ideas pertaining to scrap usage. A lot of quilters have had the same idea this year.  Lots of folks want to be able to clear the clutter.  I found this tutorial from Lori of Bee in My Bonnet.  She had a form of consolidation that I decided I could work with to fit my need.  Take every scrap and cut it into squares or strips in sizes that I would find useful in a quilt.  I cut 1.5 inch, 2 inch, 2.5 inch and 3 inch squares. I used leftover binding strips and random strips from other projects. A whole day of cutting and more. I put the squares into clear jars and when the jars got full I made a quilt.  

First, I used plastic bins to sort my scraps into lights and darks. 


 Next, I placed cut squares in jars marked 1.5, 2 and 2.5 inches.


Cut, cut and cut.  


Sew, sew and Sew.


Darks and lights.


Let me stop right here and give a shout out to my old Viking Designer II sewing machine.  For years she has been a hard worker.  Those scraps are full of dust and lint.  Please clean your machine often.  I had no idea how fast lint collects and often I had to clean this area while sewing scraps.    


Use your brush to clean your machine in all those tiny spaces.


And this is what I made from all those scraps.


I call this Chain Mail.  The background fabric is a yard cut novelty print from JoAnn's and has French postal markings.  The pattern is a Double Irish Chain.    This is from 1.5 squares.  I practiced some straight line quilting and it looks nice.  


This quilt is a four patch using Kona White with lots of pretty colorful 2.5 inch squares.  


This next quilt used strips and scraps of various sizes. I was creative and used some beginner improv in the center and created a scrap happy border.  The colors are actually quite nice.  The photo doesn't fully capture the depth of the dark colors.      


With some of my reds and lighter beige scraps, I worked on reducing some of my older fabric collections.  I like chickens and I have several fat quarters of chicken prints. I have been saving them for that special project, but it is time for them to go.  I will add some borders and it will be cute.


None of these quilts are finished.  This winter, I will have a marathon longarm quilting week.  I seem to do that every January and February when recovering from a busy holiday season.

I will wrap this up for today.  Take care.