Tuesday, October 28, 2014

Hemispheres - A Baby Quilt Finish

The baby quilt has been gifted officially. I can now post photos of the finished baby quilt I recently made for our newest grandson soon to be. The pattern is called Hemispheres.


 I found this quilt pattern via internet search on this blog, City Stitches.   It is a pattern by Megan Nicols of City Stitches and offered by Aria Lane and available for purchase at Pile of Fabric and at Mad About Patchwork.  I read through all of Megan's quilt along posts and decided I was up for a new challenge: Circles.   

I was searching for something unique.  Non-traditional.  Bold primary colors.  My daughter said this was the quilt for her.  The bright colors and the bold shapes completed the vision she had for her nursery.  My daughter grew up in the Northern Hemisphere and my son in law grew up in the Southern Hemisphere.  The quilt already has special meaning to their family history. 


Attention:  You can stop now if you don't want to continue reading my sewing story.  
I know my posts get a little lengthy with pictures and story.

Keep reading to see how I made this Hemispheres Quilt.

I love this part of quilt making.  
The vision, the shopping, the research and all the preparation before the first cut.  

  • I had a limited selection of solid colored fabrics.  So I had to grow my collection fast. 
  • I loaded up a shopping cart and headed to the cutting counter.   
  • I purchased a nice colorful rainbow stack of 1/4 yard cuts of Kona cottons.


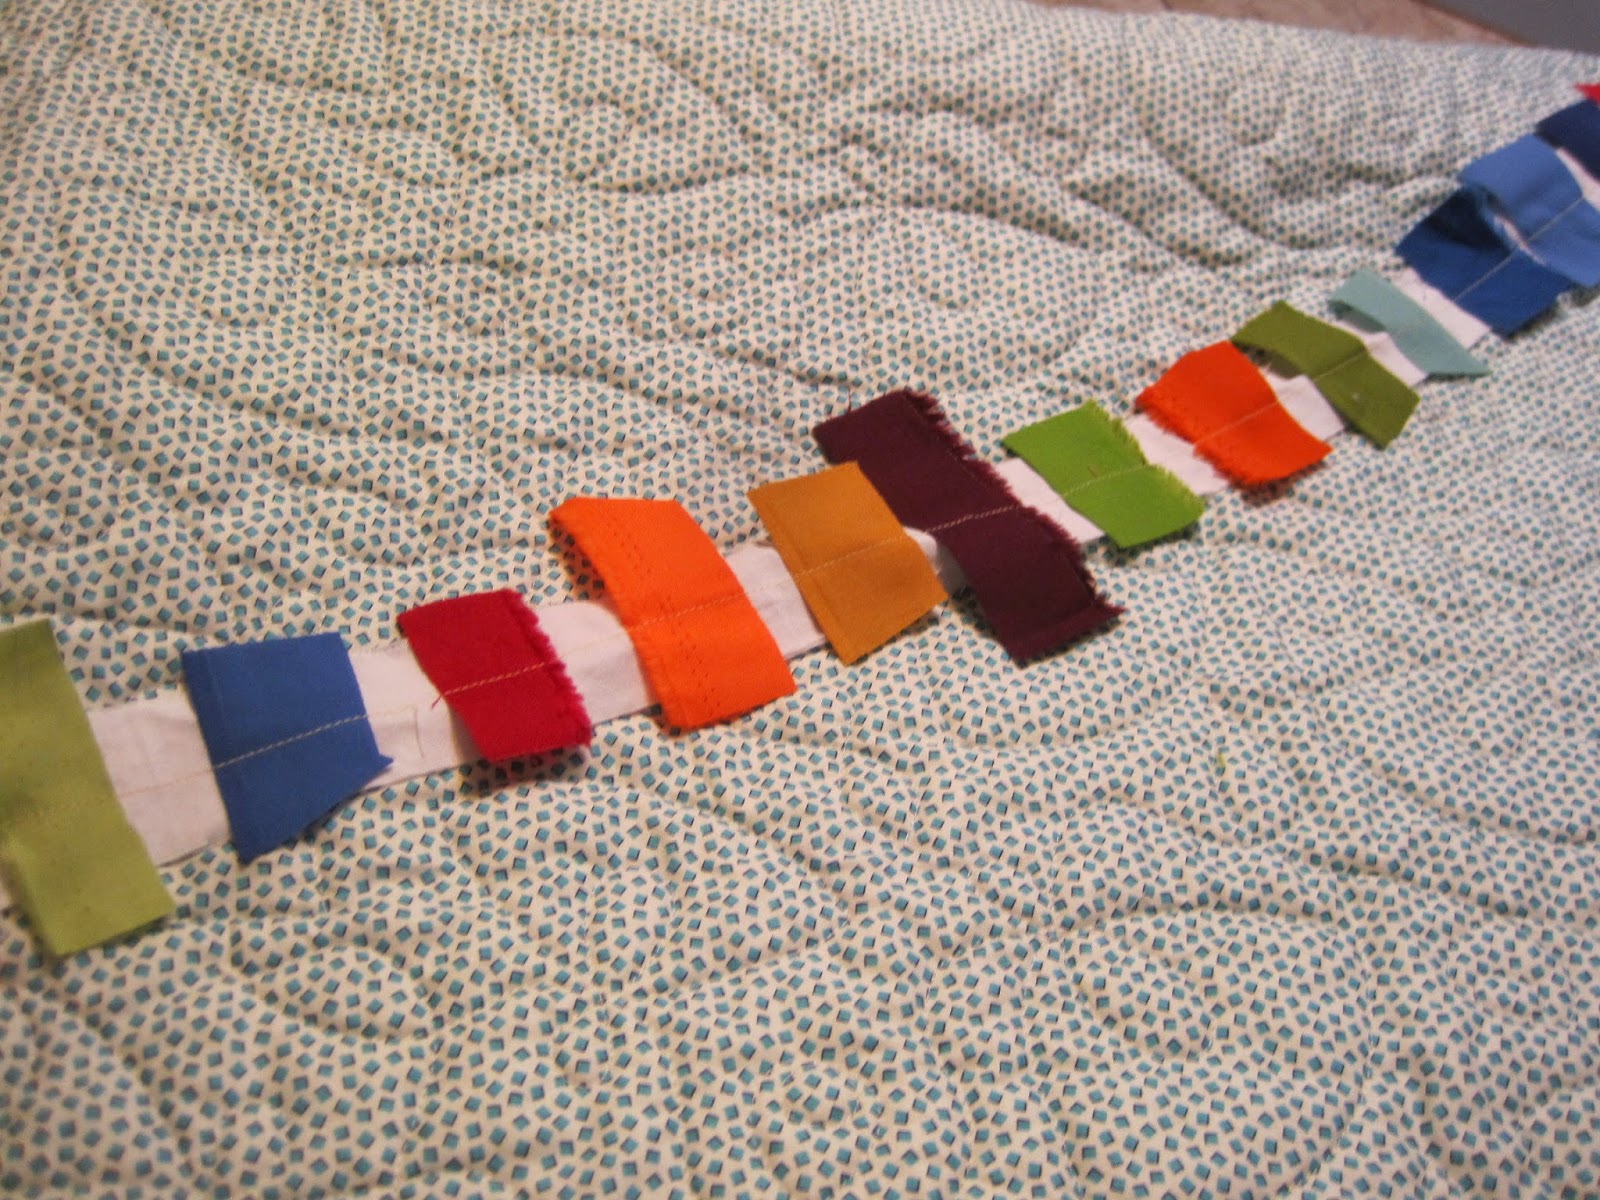
I did prewash all of these fabrics.  I have had a bad experience with color bleeding on deep maroon, red and dark navy blue.  I just thought it best for a quilt that would be washed often.  I cut a snippet of each color and sewed it on a strip of Kona White.  There was some suspect color bleeding so those were eliminated from the "rainbow".


***I have a confession to make. I did not follow the pattern maker's directions.***

I cut out my half circles using the 7 inch marking on the ruler and sewed right sides together to fusible webbing. Then I turned the half circles right side out, cut close to the seam allowance, and ironed the half circle on to the white background fabric.


Disclaimer:  These photos may not be in the proper sequence.  Nor do I have pictures of every step in the process. You get the idea, right?


Then I topstitched the half circle to the background.  It wasn't that I couldn't have taken the time to cut the circle pies and the background crusts....Ain't nobody got time for that!  I took the shortcut I learned from Eleanor Burns and went with it.  There is extra bulk but not enough to matter...to me anyway!


SPIRAL QUILTING!
My first attempt.  

I did research this technique extensively.  Crazy Mom Quilts has a great tutorial. So does VeryKerryBerry. I used both of these tutorials.  There are many generous quilters who have taken the time to share their talents so please check them out.

I layered quilt top, batting (Soft and White by The Warm Company) and backing...and pinned every three inches as instructed.  I didn't use a walking foot as recommended.  Mainly because the quilt guide I needed would not fit on my walking foot.  I needed the quilt guide to mark the spacing between lines of stitching.


Round and round I went.  It is really not that bad.  Honest!


I did tie and knot all the threads. Then I hid all of the thread tails pulling them with the threaded needle into the layers.  Very time consuming but it must be done.  Don't want to risk threads unraveling with the washing and drying in years to come.


I did encounter a few bumps along the way.  There were some pleats and puckers. The entire backing shifted with the spiral sewing.  I was left with some triangle edges showing.  So I sewed some extra backing fabric over the spaces and no one but me will ever know about that.


My sewing stitches are not always smooth. Always make sure the needle is down before lifting your pressure foot.  The stopping and starting will make little jags like this:


And I still haven't mastered pin basting, no matter how many pins I put in.  Watch out for shifting,especially while spiral quilting like this: 


 The fabric I chose for the back of the quilt.


Will I ever make another circular quilt?  Will I ever spiral quilt again?
Yeah Buddy!  I have a few projects whirling around in my head for sure!

The quilt is wonderful.  We all love how it turned out.  


It is finished off with a matching multi-colored stripe binding. The backing is blue with multi-colored dots.
None of my blips stand out.  Isn't it great?

Thanks for stopping by for today's quilt story.

Monday, October 27, 2014

Starting A New Quilt- -Churn Dash

Today I am starting a new quilt!

This fabric line is by Elizabeth Olwen called Retro Morocco.  


Aren't they cute, lovely?  Interesting. Playful. Captivating. Whimsical. I do think they are cute and also very lovely.  In a wild and free kind of way. They really call my name.


I am ashamed embarrassed EXCITED to say I have purchased so much fabric at JoAnn's in this one month of October. (Coupons, Coupons!)  It is not often you can walk into a big box store and expect to get several pieces from a designer's fabric collection. And they were all shelved next to each other.  All coordinating and colorful. A pretty red, a fun navy, a peachy peach, a cool ocean water aqua blue! I was immediately mesmerized by these fabrics. They are different. Something I wouldn't normally choose.  I believe they cast a spell on me. Seeing all those shapes and texture and movement on that shelf, I knew it was time for a new challenge.  Oh, the possibilities of a coordinating scrappy look.  A new quilt must be made.

There are two JoAnn's on my side of the big town metro area. Once I loaded up with half yard cuts at one store, I drove over to the other store that same day to see what, if any, selections of the Retro Morocco line they had different from the first store. Eureka! They had a few different patterns and some coordinates.  I just let myself roll with the creative flow!     

Some Julianne Horner also blended quite nicely. The cutting counter lady was as excited as I was. Or was I just thinking that she was.  She said I had a good eye for color.  I think I do too. Sometimes.  I told her I was seeing a churn dash block made from these fabrics.  No comment from cutting counter lady. But I could see it.  I have been having churn dash dreams lately. 

I've been researching and searching the internet for the Churn Dash pattern. I have decided to use this tutorial by HoosierToni called the Skinny Churn Dash.  I am also inspired by this Churn Dash variation by Little Miss Shabby called Churn to the Dash.  Read her cute story. Ah Kids!  What they come up with!

I like the scrappy feel with a multicolor background. The standard churn dash uses the same background.  I am thinking scrappy throughout.  I wrote down the measurements on my pad to take to my sewing room. No computer in there.


Block #1.  I think it is interesting to see what I picked for my first block.  I must have subconsciously chosen my two favorites fabrics. But I love them all equally???  

 Cuuuuute! Right? Yep.  The little red flower has fingers.

Block #2.  I like this combination just as much.


However, Block #1 and Block #2 do not match. The first block doesn't measure up to a 6.5 inch finished square.  I spent a little time trying to accurately piece Block #2,  It does measure 6.5 inches. Evidently the Churn Dash pattern requires some accurate cutting and piecing on those seams and HSTs (half square triangles).  Not usually my priority or skill set.


Little Miss Shabby must have had the same problem because she made a fix for that.  She made a large border around a "not quite big enough" block to finish out at 12.5 inches.  I will have to do that too!

Four of these cute little babies should make a 12.5 inch finished block.  


Block #3.  Isn't this a cutie?  Love the peachy orange with the grinning teethy flowers. HA!  It is supposed to finish out at 12.5 inches.  But it doesn't.  I can't worry about that today.  I know I am not accurate when piecing. What I am good at is making something fit!  


Oh, I am liking those colors and the floral whimsy! It is just what I had envisioned! 


I am really excited about this new project.  And Elizabeth Olwen, if you happen to see this, I love your work.  And I want you to know that I also bought all I could find of this fabric line too!  Fairytale Gardens.  Peach and Gray are one my favorite combinations. I can't wait to make a quilt out of them too! 

I will keep you guys posted with pictures of my Retro Morocco Quilt as it progresses.  Thanks for stopping by!

Linking to Choose Your Own Block A Long at Live a Colorful Life
and also
Linking to WIP Wednesday over at Freshly Pieced

P.S.  If you just need a little more and want to see the selvedges, here they are:


I love her studio name, Wild & Free.  Just so cute!  Thanks.


Wednesday, October 22, 2014

Double T Quilt

This is what is grabbing my attention at the moment. My current work in progress. 


I started this quilt way, way back when. About 19 years ago.  I had stayed at a friend's condo and there was a Double T quilt on the bed. I had to make one of my own. That quilt was made with shirting fabrics, but I wanted to make mine in the bubble gum pinks and browns.  All I know is that it has been waiting for me in a box under my sewing table. It was already pin basted and I had begun the hand quilting.  The batting is plain old 100% polyester and I still like how polyester batting makes a soft quilt. 

This is one of those unfinished projects I found this summer when I got serious about using my scraps and finishing quilt tops. 

Let me say I have really enjoyed hand quilting again. Great TV watching project.  I have a long arm machine and do all of my quilting by machine these days.  But this one deserves to be finished.  It also deserves to be hand quilted.


 I am not the best hand quilter.  But not bad either.  My stitches will never win a prize but winning a prize is not what I am about.  You know, it is the process that I love.  


I see a lot of straight line quilting on many blogs.  But I have not seen anyone show how they mark their straight lines. I use tape.  Masking tape has been my go-to marking tool for many years.  It works well for machine quilting as well.  Masking tape comes in many widths. In this photo I am using two strips of 1.5 inch blue painters tape. I quilt a straight line down the side of it.


I have my tray of essential tools.  The Texas weather is so nice today, I think I just want to sit outside and quilt a while.


It is going to be a nice quilt when I get it finished.  


 Thanks for stopping by.  I will be linking today's work in progress on Esther's blog and over at Freshly Pieced.

Tuesday, October 7, 2014

September Finishes

I was very productive in the month of September.  Here is a quick post and photos of finishes.

Nature Girl baby quilt.  Front and Back.  Love the prints.  Colorful frogs, turtles, snails, ladybugs, and florals. 
The back is an equally colorful stripe.  Tiny flower and bow stripes. 
The Ambrosia Quilt is finished.  I blogged about it here. Love everything about this quilt.  Scrappyness. Colors. Fun to make.
 Organic cotton backing has a white background with blue birds and branches.  Love the bold dot binding.
Gilded Ornaments. I pulled this one from my "need to be quilted shelf" and finished it. It is an original design I do believe.  I did not have a pattern.  Can you see the big Christmas Ornaments tied with a gold bow.  Gold metallic; rich red and green fabric.  Very elegant and quite nice.  

I started and finished this Scrappy Christmas Quilt in September.  I love it.  I love the tumbler pattern and I am so pleased with using the preprinted blocks around the outside border.  Again, I love it.   
 And a  few bib and burp orders for Etsy.   


Look for most of these to be listed on Etsy soon.  I hope to keep busy throughout October with more finishes. 
Thanks for stopping by.